Be yourself; Everyone else is already taken.
— Oscar Wilde.
This is the first post on my new blog. I’m just getting this new blog going, so stay tuned for more. Subscribe below to get notified when I post new updates.
Be yourself; Everyone else is already taken.
— Oscar Wilde.
This is the first post on my new blog. I’m just getting this new blog going, so stay tuned for more. Subscribe below to get notified when I post new updates.
In this article, I will show you how to build GCC 9 as a cross compiler for Raspberry Pi. A cross compiler is a compiler that runs on an operating system and produces executables for another. This is really useful when you want to use your beefy computer to build a library or other large piece of code for Raspberry Pi. As a practical example, at the end of the article, I will show you how to use the cross compiler to build GCC itself as a native Raspberry Pi application.


To build and host the cross compiler, I’ve used Ubuntu 18.04 and Debian 9, but a similar procedure should work on other Linux distributions.
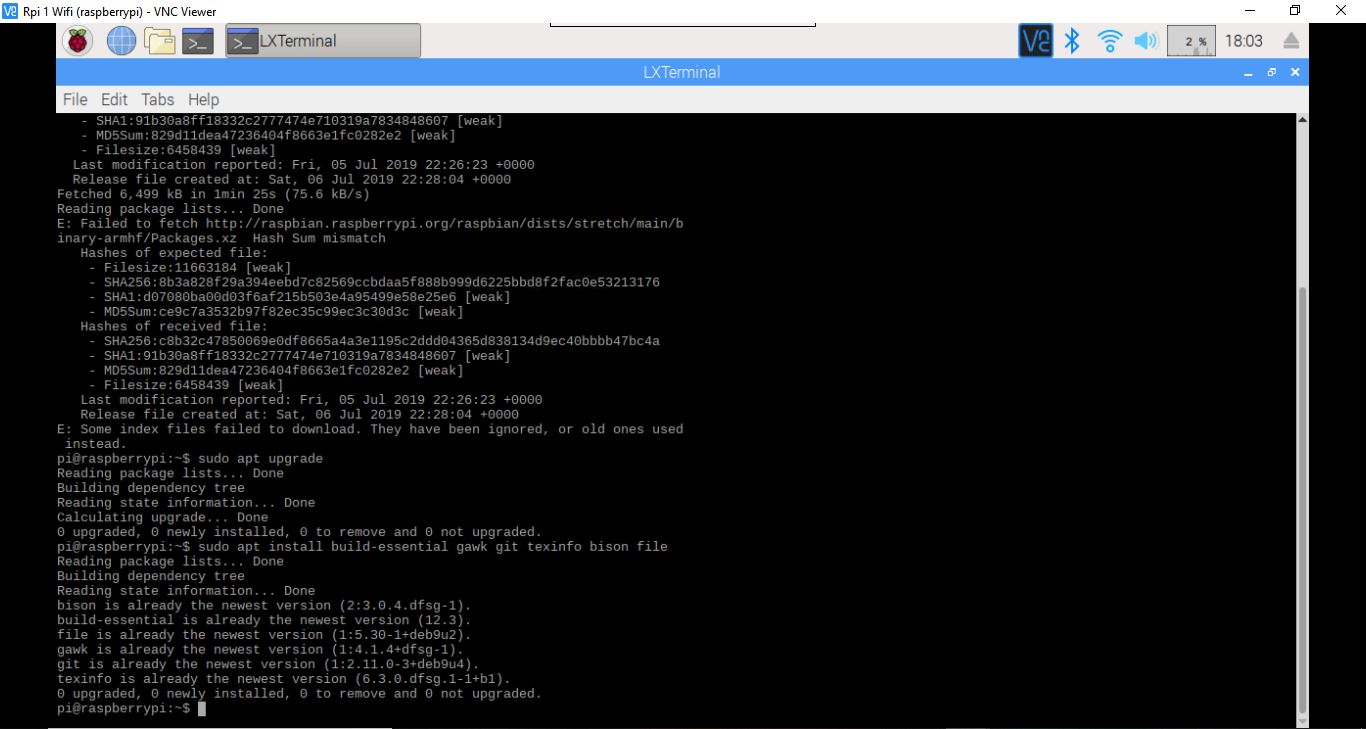
First, make sure your system is updated and install the required prerequisites:
sudo apt update
sudo apt upgrade
sudo apt install build-essential gawk git texinfo bison file
At the time of this writing, Raspbian comes with GCC 6.3.0, Binutils 2.28 and Glibc 2.24. It is really important that we build our cross compiler using the same Glibc version as the one from Raspbian. This will allow us to integrate nicely with the OS. If you are from the future and read this article, you can check the versions of the above software with these commands:
gcc --version
ld -v
ldd --version

If you are trying to build Glibc 2.24 with a more modern GCC, like 7.x or 8.x, you are going to get a lot of errors. Easiest approach is to build Glibc with GCC 6.3.0 and later use it with the latest and greatest GCC, which at this time is 9.1.
In the next instructions I’ll assume that you are doing all the steps in a separate folder and that you keep the same Terminal session open until everything is done. For example, you can create a working folder in your home:
sudo su
cd ~
mkdir gcc_all && cd gcc_all
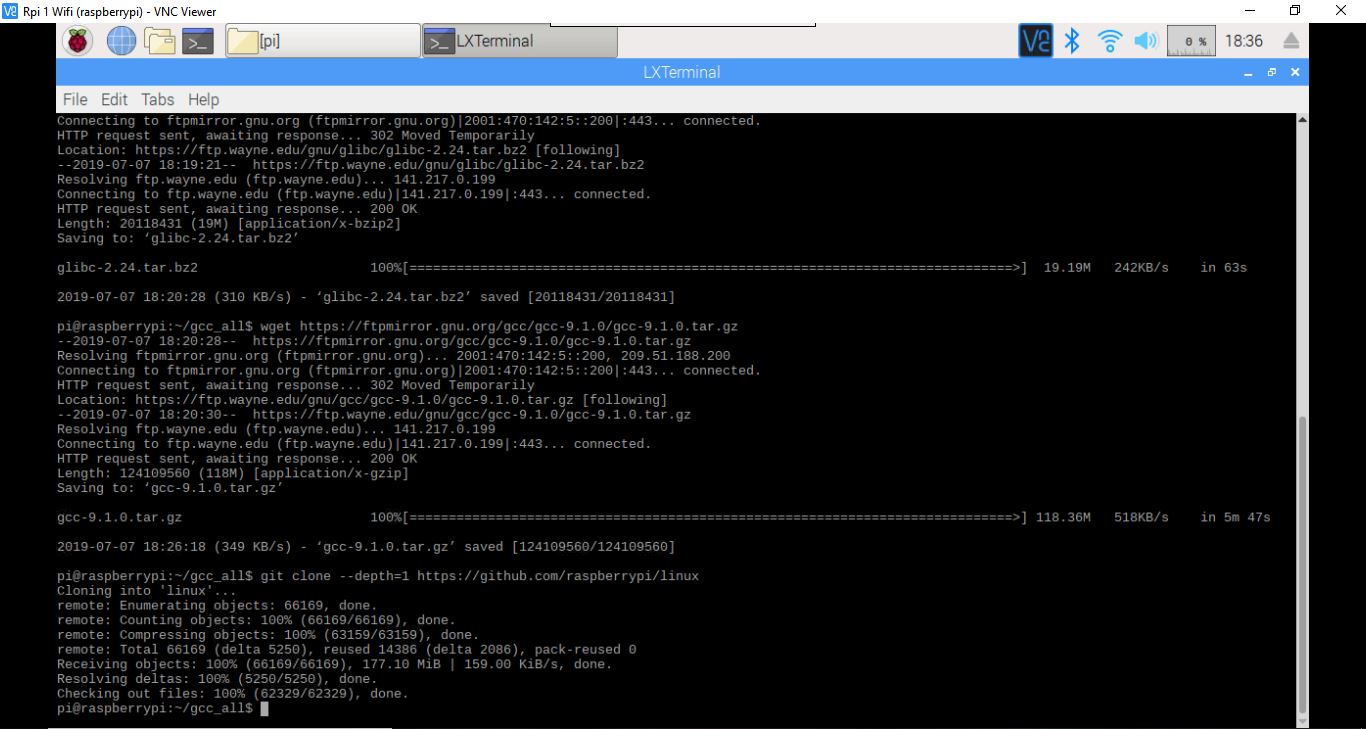
Let’s download the software that we’ll use for building the cross compiler:
wget https://ftpmirror.gnu.org/binutils/binutils-2.28.tar.bz2
wget https://ftpmirror.gnu.org/gcc/gcc-6.3.0/gcc-6.3.0.tar.gz
wget https://ftpmirror.gnu.org/glibc/glibc-2.24.tar.bz2
wget https://ftpmirror.gnu.org/gcc/gcc-9.1.0/gcc-9.1.0.tar.gz
git clone --depth=1 https://github.com/raspberrypi/linux
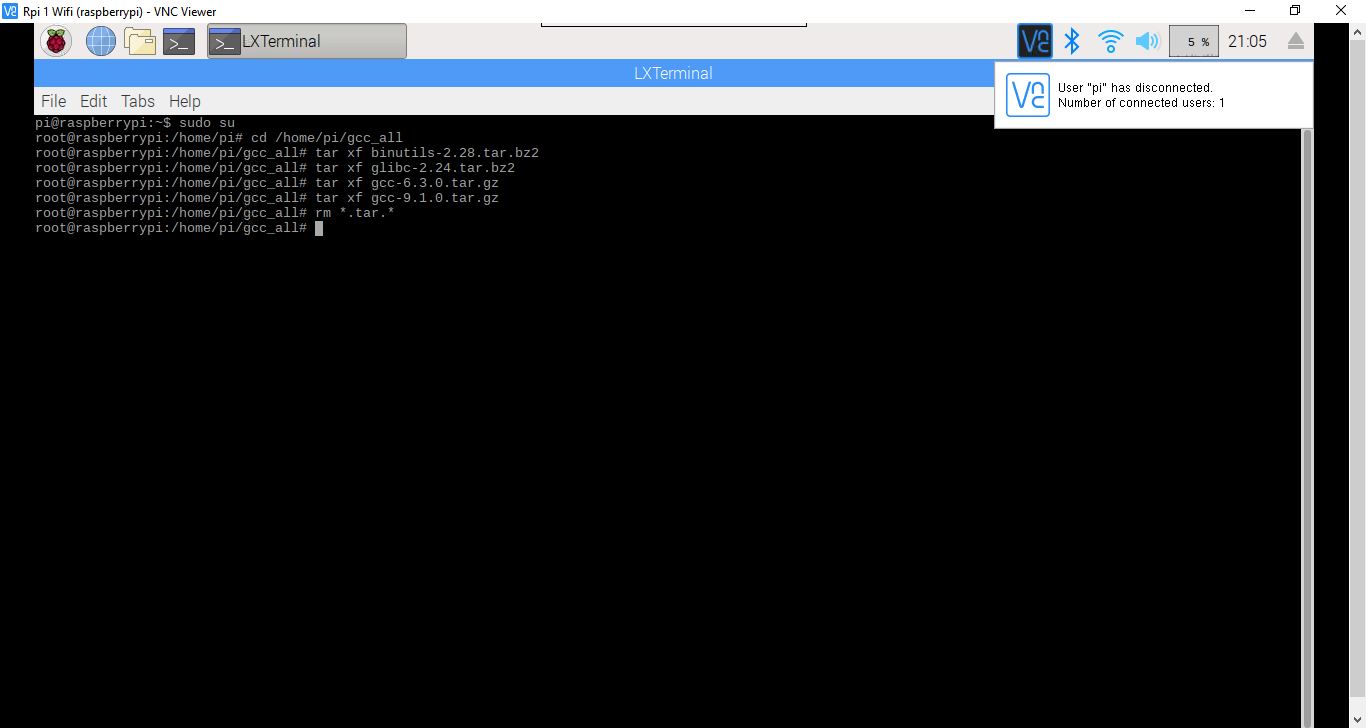
Next, extract the archives and erase them:
tar xf binutils-2.28.tar.bz2
tar xf glibc-2.24.tar.bz2
tar xf gcc-6.3.0.tar.gz
tar xf gcc-9.1.0.tar.gz
rm *.tar.*
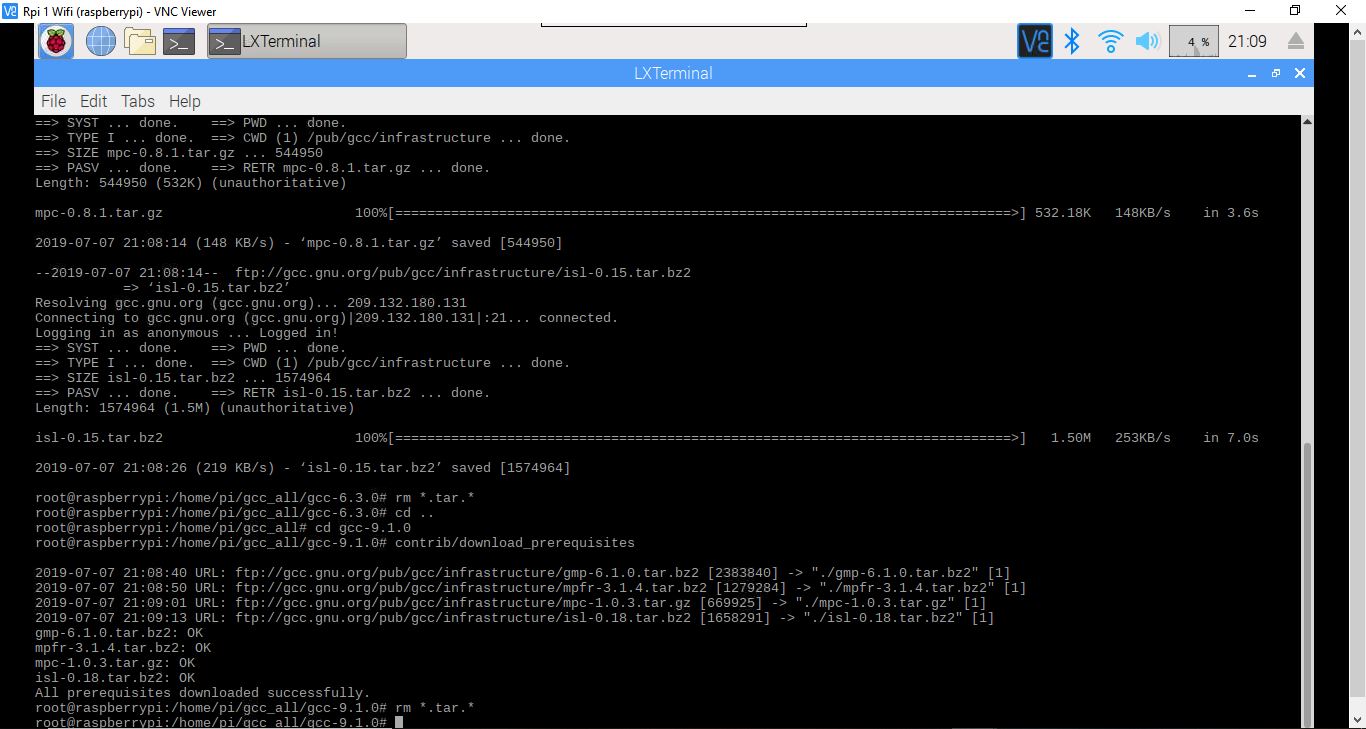
GCC also needs some prerequisites which we can download inside the source folder:
cd gcc-6.3.0
contrib/download_prerequisites
rm *.tar.*
cd ..
cd gcc-9.1.0
contrib/download_prerequisites
rm *.tar.*
Next, create a folder in which we’ll put the cross compiler and add it to the path:
cd ~/gcc_all
sudo mkdir -p /opt/cross-pi-gcc
sudo chown $USER /opt/cross-pi-gcc
export PATH=/opt/cross-pi-gcc/bin:$PATH
Copy the kernel headers in the above folder, see Raspbian documentation for more info about the kernel:
cd ~/gcc_all
cd linux
KERNEL=kernel7
make ARCH=arm INSTALL_HDR_PATH=/opt/cross-pi-gcc/arm-linux-gnueabihf headers_install
Next, let’s build Binutils:
cd ~/gcc_all
mkdir build-binutils && cd build-binutils
../binutils-2.28/configure --prefix=/opt/cross-pi-gcc --target=arm-linux-gnueabihf --with-arch=armv6 --with-fpu=vfp --with-float=hard --disable-multilib
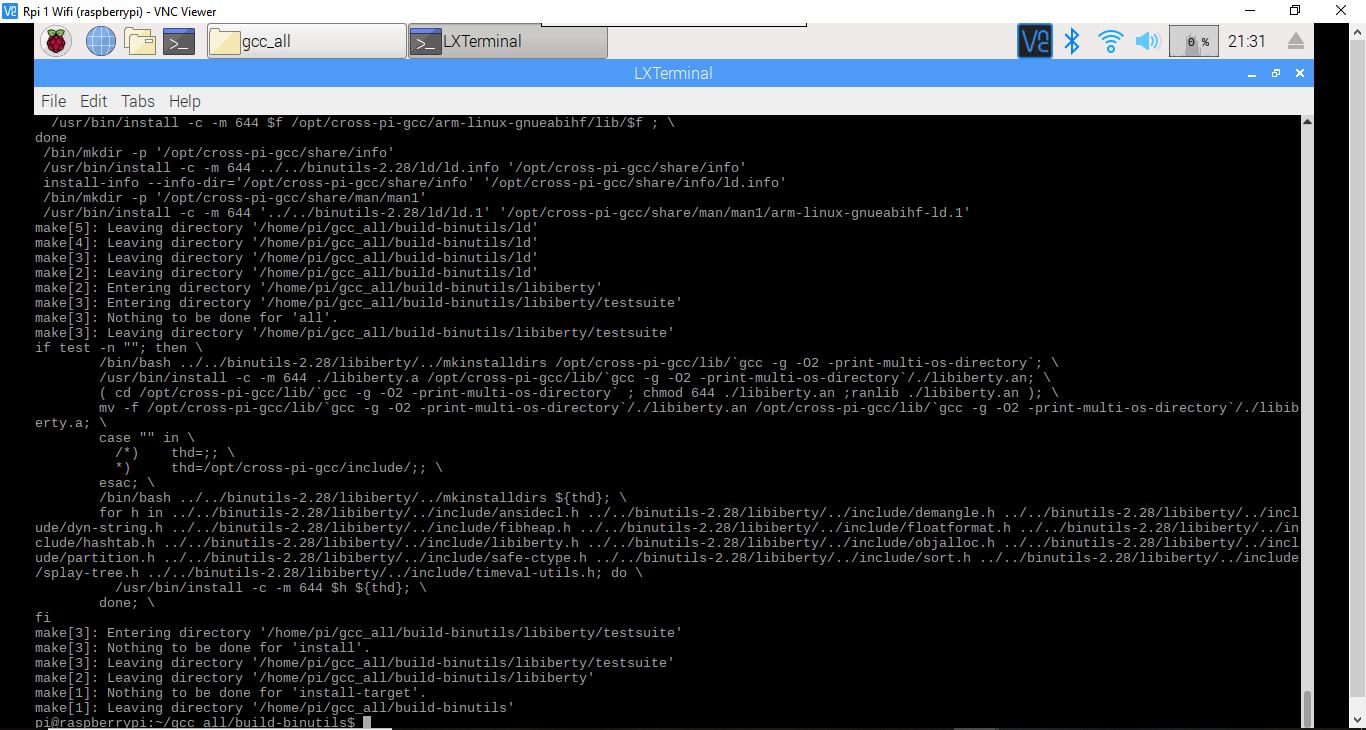
make -j 8
make install
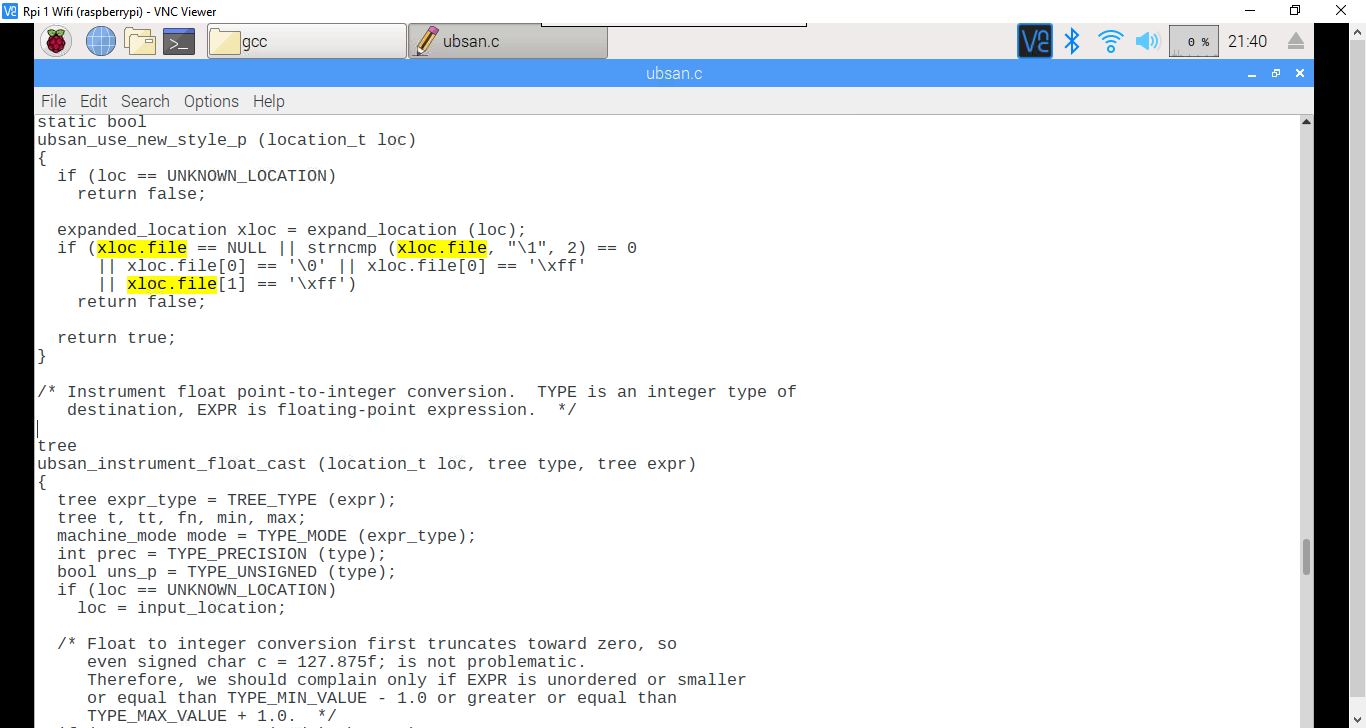
Open in a text editor ubsan.c from /home/pi/gcc_all/gcc-9.1.0/gcc, find line 1474:
|| xloc.file == '\0' || xloc.file[0] == '\xff'
and change it to:
|| xloc.file[0] == '\0' || xloc.file[0] == '\xff'
save and close the file.
GCC and Glibc are interdependent, you can’t fully build one without the other, so we are going to do a partial build of GCC, a partial build of Glibc and finally build GCC and Glibc.
cd ~/gcc_all
mkdir build-gcc && cd build-gcc
../gcc-6.3.0/configure --prefix=/opt/cross-pi-gcc --target=arm-linux-gnueabihf --enable-languages=c,c++,fortran --with-arch=armv6 --with-fpu=vfp --with-float=hard --disable-multilib
make -j8 all-gcc
make install-gcc
Now, let’s partially build Glibc:
cd ~/gcc_all
mkdir build-glibc && cd build-glibc
../glibc-2.24/configure --prefix=/opt/cross-pi-gcc/arm-linux-gnueabihf --build=$MACHTYPE --host=arm-linux-gnueabihf --target=arm-linux-gnueabihf --with-arch=armv6 --with-fpu=vfp --with-float=hard --with-headers=/opt/cross-pi-gcc/arm-linux-gnueabihf/include --disable-multilib libc_cv_forced_unwind=yes
make install-bootstrap-headers=yes install-headers
make -j8 csu/subdir_lib
install csu/crt1.o csu/crti.o csu/crtn.o /opt/cross-pi-gcc/arm-linux-gnueabihf/lib
arm-linux-gnueabihf-gcc -nostdlib -nostartfiles -shared -x c /dev/null -o /opt/cross-pi-gcc/arm-linux-gnueabihf/lib/libc.so
touch /opt/cross-pi-gcc/arm-linux-gnueabihf/include/gnu/stubs.h
Back to GCC:
cd ..
cd build-gcc
make -j8 all-target-libgcc
make install-target-libgcc
Finish building Glibc:
cd ..
cd build-glibc
make -j8
make install
Finish building GCC 6.3.0:
cd ..
cd build-gcc
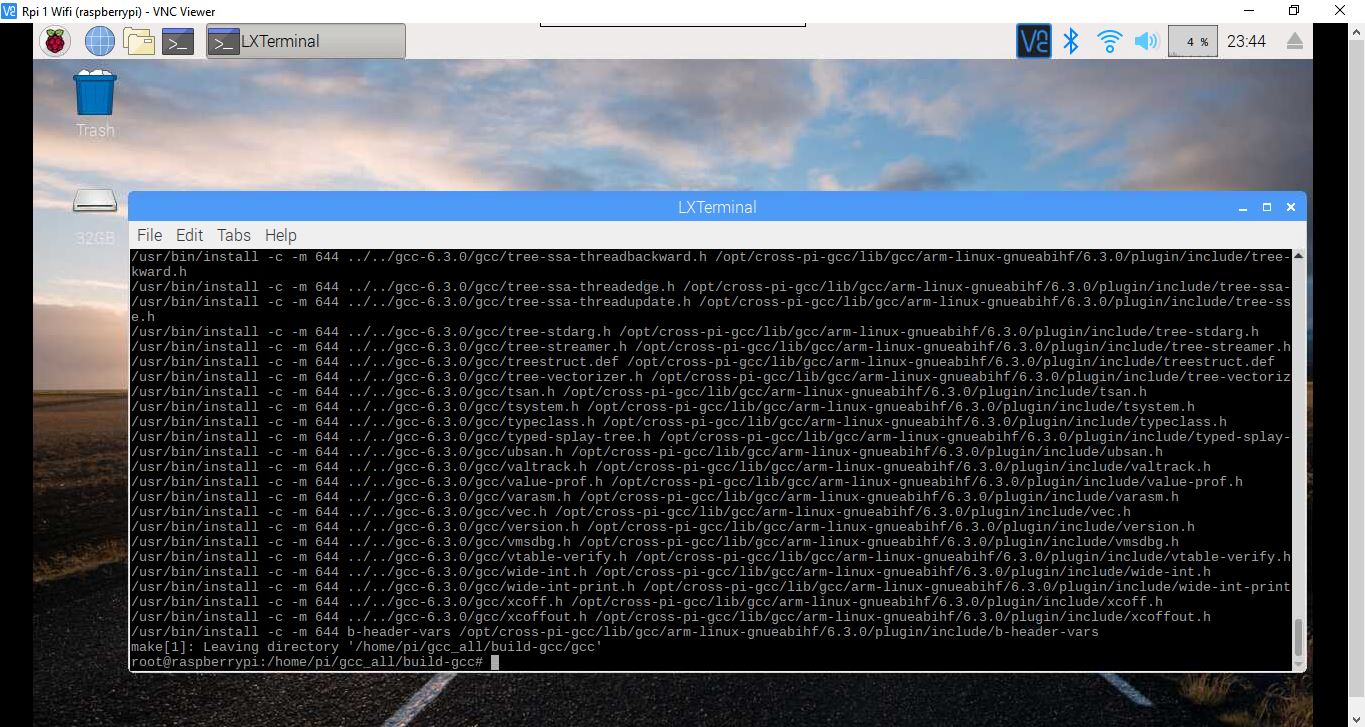
make -j8
make install
cd ..
Optionally, write a small C or C++ test program, you can build the code with:
arm-linux-gnueabihf-g++ test.cpp -o test
The resulting executable, test, from above was built with our first cross compiler and will run on your Pi. You can check that using the file command:
file test
At this point, you have a full cross compiler toolchain with GCC 6.3.0. Make a backup, in case somethig goes wrong, before proceeding with the next step:
sudo cp -r /opt/cross-pi-gcc /opt/cross-pi-gcc-6.3.0
cd ~/gcc_all
Edit gcc-9.1.0/libsanitizer/asan/asan_linux.cc. You will need to define PATH_MAX if it is not defined. Add the next piece of code after about line 77:
#ifndef PATH_MAX
#define PATH_MAX 4096
#endif
save and close the file.
Next, we are going to use the above built Glibc to build a more modern cross compiler that will overwrite 6.3:
cd ~/gcc_all
mkdir build-gcc9 && cd build-gcc9
../gcc-9.1.0/configure --prefix=/opt/cross-pi-gcc --target=arm-linux-gnueabihf --enable-languages=c,c++,fortran --with-arch=armv6 --with-fpu=vfp --with-float=hard --disable-multilib
make -j8
make install
At this point, you can use GCC 9.1 to cross compile any C, C++ or Fortran code for your Raspberry Pi. You can invoke any of the cross compilers by using the prefix:
arm-linux-gnueabihf-
examples: arm-linux-gnueabihf-gcc, arm-linux-gnueabihf-g++, arm-linux-gnueabihf-gfortran.
In order to stress test our cross compiler, let’s use it to cross compile itself for the Pi:
sudo mkdir -p /opt/gcc-9.1.0
sudo chown $USER /opt/gcc-9.1.0
cd ~/gcc_all
mkdir build-native-gcc9 && cd build-native-gcc9
../gcc-9.1.0/configure --prefix=/opt/gcc-9.1.0 --build=$MACHTYPE --host=arm-linux-gnueabihf --target=arm-linux-gnueabihf --enable-languages=c,c++,fortran --with-arch=armv6 --with-fpu=vfp --with-float=hard --disable-multilib --program-suffix=-9.1
make -j 8
make install-strip
You should end up with a a native ARM GCC in your /opt/gcc-9.1.0 folder.
As a side note, building GCC 9.1 with the above cross compiler took about 15 minutes on a Debian 9 x86-64 machine. Compare this with the 5 hours I needed to build GCC 8.1 directly on my Pi 3 in the past and you will see the advantage of having a cross compiler on your main machine. Someone told me that compiling GCC 7 on a Raspberry Pi Zero took about 5 days!
If you want to permanently add the cross compiler to your path, use something like:
echo 'export PATH=/opt/cross-pi-gcc/bin:$PATH' >> ~/.bashrc
source ~/.bashrc
You can now, optionally, safely erase the build folder. Assuming you’ve followed my advice, from your home folder use the next command:
cd ~
rm -rf gcc_all
Let’s archive the compiler and save it to our home folder:
cd /opt
tar -cjvf ~/gcc-9.1.0-armhf-raspbian.tar.bz2 gcc-9.1.0
cd ~
Copy gcc-9.1.0-armhf-raspbian.tar.bz2 to your RPi. For the remaining of this article I’ll assume you are on your RPi and that the above archive is in your home folder:
cd ~
tar xf gcc-9.1.0-armhf-raspbian.tar.bz2
rm gcc-9.1.0-armhf-raspbian.tar.bz2
sudo mv gcc-9.1.0 /opt
Next, we are going to add the new compilers to the path and create a few symbolic links:
 echo 'export PATH=/opt/gcc-9.1.0/bin:$PATH' >> ~/.bashrc
 echo 'export LD_LIBRARY_PATH=/opt/gcc-9.1.0/lib:$LD_LIBRARY_PATH' >> ~/.bashrc
 source ~/.bashrc
 sudo ln -s /usr/include/arm-linux-gnueabihf/sys /usr/include/sys
 sudo ln -s /usr/include/arm-linux-gnueabihf/bits /usr/include/bits
 sudo ln -s /usr/include/arm-linux-gnueabihf/gnu /usr/include/gnu
 sudo ln -s /usr/include/arm-linux-gnueabihf/asm /usr/include/asm
 sudo ln -s /usr/lib/arm-linux-gnueabihf/crti.o /usr/lib/crti.o
 sudo ln -s /usr/lib/arm-linux-gnueabihf/crt1.o /usr/lib/crt1.o
 sudo ln -s /usr/lib/arm-linux-gnueabihf/crtn.o /usr/lib/crtn.o
At this point, you should be able to invoke the compilers with gcc-9.1, g++-9.1 or gfortran-9.1.
Let’s try to compile and run a C++17 code that uses an if block with init-statement (the example is a bit silly, but it will show you how to compile C++17 programs):
 #include <iostream>
 int main() {
      // if block with init-statement:
      if(int a = 5; a < 8) {
          std::cout << "Local variable a is < 8\n";
      } else {
          std::cout << "Local variable a is >= 8\n";
      }
     return 0;
 }
Save the above code in a file named if_test.cpp and compile it with:
g++-9.1 -std=c++17 -Wall -pedantic if_test.cpp -o if_test
This is what I see on my RPi:
pi@raspberrypi:~ $ g++-9.1 -std=c++17 -Wall -pedantic if_test.cpp -o if_test
pi@raspberrypi:~ $ ./if_test
Local variable a is < 8
pi@raspberrypi:~ $
Let’s also try to use the C++17 filesystem:
#include <iostream>
#include <filesystem>
int main() {
for(auto &file : std::filesystem::recursive_directory_iterator("./")) {
std::cout << file.path() << '\n';
     }
 }
Save the above code in a file named fs_test.cpp and compile it with:
g++-9.1 -std=c++17 -Wall -pedantic fs_test.cpp -o fs_test
This is what I see on my RPi (don’t run the next code in your home folder if you have a lot of files because it will recursively print all of them, for example you can move it in a folder with a smaller numbers of files):
pi@raspberrypi:~ $ g++-9.1 -std=c++17 -Wall -pedantic fs_test.cpp -o fs_test
pi@raspberrypi:~ $ ./fs_test
"./.nano"
"./.profile"
"./.bash_logout"
"./fs_test.cpp"
"./.bashrc"
"./if_test.cpp"
"./if_test"
"./fs_test"
"./.bash_history"
pi@raspberrypi:~ $
The Open Source Real-time Ethernet on Raspberry Pi 3 article would have given a good idea on running the POWERLINK on Raspberry Pi3 using pre-build binaries. Now let us see how to build our own POWERLINK binaries and also access the raspberry Pi 3 GPIO’s using POWERLINK application.
The demo uses three Raspberry Pi3 boards, one acting as the network master (POWERLINK Managing Node / MN) and the other two as network slaves (POWERLINK Controlled Node / CN). List of hardware needed:
open terminal and type the below commands on all Raspberry pi:
sudo su
sudo mkdir /home/pi/openpowerlink
cd /home/pi/openpowerlink
wget http://ftp.debian.org/debian/pool/main/libp/libpcap/libpcap-dev_1.6.2-2_all.deb
wget http://ftp.debian.org/debian/pool/main/libp/libpcap/libpcap0.8_1.6.2-2_armhf.deb
wget http://ftp.debian.org/debian/pool/main/libp/libpcap/libpcap0.8-dev_1.6.2-2_armhf.deb
wget https://www.kalycito.com/images/articles/rpi2/Dev_oplk_Pi.tar.gz
sudo mkdir /home/pi/oplk_Pi2
sudo chmod -R +x /home/pi/oplk_Pi2
cp -r /home/pi/openpowerlink/* /home/pi/oplk_Pi2
cd /home/pi/oplk_Pi2
tar -xcv Dev_oplk_Pi.tar.gz
sudo dpkg -i libpcap-dev_1.6.2-2_all.deb libpcap0.8_1.6.2-2_armhf.deb libpcap0.8-dev_1.6.2-2_armhf.deb
sudo apt-get install cmake
sudo apt-get install wiringpi
cmake-gui
In the source code space click “Browse Source” and give the path /home/pi/oplk_Pi2/Dev_oplk_Pi/stack and click open
In “Where to build the binaries” click browse build and give the path /home/pi/oplk_Pi2/Dev_oplk_Pi/stack/build/linux and click open
Click “Configure”. A dialog box opens. Click “Use default native compilers” and click “Finish”
Un-check all other libraries except MNAPP_USERINTF and MNDRV_PCAP
Here the CMAKE_BUILD_TYPE will be in “Release” by default
Click “Configure” and then click Generate
Now in the terminal navigate to build to binaries path and type in “make install”. This will install the stack binaries in release mode
Now switch over to cmake-gui and replace the CMAKE_BUILD_TYPE to “Debug” and rest of the configurations the same
Click “Configure” and then click “Generate”
In the terminal navigate to the build to binaries path and type in “make install”. This will install the stack binaries in “Debug” mode
Building pcap driver
Switch to cmake-gui
In the source code space click “Browse Source” and give the path /home/pi/oplk_Pi2/Dev_oplk_Pi/drivers/linux/drv_daemon_pcap and click open
In “Where to build the binaries” click browse build and give the path /home/pi/oplk_Pi2/Dev_oplk_Pi/drivers/linux/drv_daemon_pcap/build and click open
Click “Configure”. A dialog box opens. Click “Use default native compilers” and click “Finish”
In the configuration settings, check the CFG_OPLK_MN and click “Configure” then “Generate”
In the terminal navigate to the build to binaries path and type in “make install”. This will install the pcap binaries
Building a Demo Application
Switch to cmake-gui
In the source code space click “Browse Source” and give the path /home/pi/oplk_Pi2/Dev_oplk_Pi/apps/demo_mn_console and click open
In “Where to build the binaries” click browse build and give the path /home/pi/oplk_Pi2/Dev_oplk_Pi/apps/demo_mn_console/build/linux and click open
Click “Configure”. A dialog box opens. Click “Use default native compilers” and click “Finish”
In the configuration settings select “Linux Userspace Daemon” for CFG_BUILD_KERNEL_STACK
Click “Configure” twice then “Generate”
In the terminal, navigate to the build to binaries path and type in “make install”. This will install the application binaries
Following are the code changes to be carried out to control the ON/OFF state of the openPOWERLINK slave GPIOs from openPOWERLINK master via PDO over POWERLINK network.
sudo su
cd /home/pi/oplk_Pi2/Dev_oplk_Pi/apps/demo_cn_console
rm linux.cmake
wget https://www.kalycito.com/images/articles/cn_build/linux.cmake
cd /home/pi/oplk_Pi2/Dev_oplk_Pi/apps/demo_cn_console/src
rm app.c
wget https://www.kalycito.com/images/articles/cn_build/app.c
Building Stack libraries:
open terminal and type in cmake-gui. A user interface dialog box opens
In the source code space click “Browse Source” and give the path /home/pi/oplk_Pi2/Dev_oplk_Pi/stack and click open
In “Where to build the binaries” click browse build and give the path /home/pi/oplk_Pi2/Dev_oplk_Pi/stack/build/linux and click open
Click “Configure”. A dialog box opens. Click “Use default native compilers” and click “Finish”
Un-check all other libraries except CNAPP_USERINTF and CNDRV_PCAP
Here the CMAKE_BUILD_TYPE will be in “Release” by default
Once the build is completed successfully, CN stack binaries will be installed in “Release” mode
Now switch over to cmake-gui and replace the CMAKE_BUILD_TYPE to “Debug” and rest of the configurations the same
Click “Configure” and then click “Generate”
In the terminal navigate to the build to binaries path and type in “make install”. This will install the stack binaries in “Debug” mode
Building a Linux PCAP User Space Daemon
Switch to cmake-gui
In the source code space click “Browse Source” and give the path /home/pi/oplk_Pi2/Dev_oplk_Pi/drivers/linux/drv_daemon_pcap and click open
In “Where to build the binaries” click browse build and give the path /home/pi/oplk_Pi2/Dev_oplk_Pi/drivers/linux/drv_daemon_pcap/build and click open
Click “Configure”. A dialog box opens. Click “Use default native compilers” and click “Finish”
Un-check the “OPLK_CFG_MN” which will configure as CN
In the terminal navigate to the build to binaries path and type in “make install”. This will install the pcap binaries
Building a Demo Application
Open cmake-gui.
In the source code space click “Browse Source” and give the path /home/pi/oplk_Pi2/Dev_oplk_Pi/apps/demo_cn_console and click open
In “Where to build the binaries” click browse build and give the path /home/pi/oplk_Pi2/Dev_oplk_Pi/apps/demo_cn_console/build/linux and click open
Click “Configure”. A dialog box opens. Click “Use default native compilers” and click “Finish”
In the configuration settings select “Linux Userspace Daemon” for CFG_BUILD_KERNEL_STACK
Click “Configure” twice then “Generate”
In the terminal, navigate to the build to binaries path and type in “make install”. This will install the application binaries
On Raspberry Pi 3(On Slave board)
Configuration steps to configure Raspberry Pi 2 as openPOWERLINK Slave node:
Repeat the steps as carried out for “Slave 1” before making the following changes:
Open the file from the path /home/pi/oplk_Pi2/Dev_oplk_Pi/apps/demo_mn_console/src/main.c and change the NODEID to 32 as shown below
Environment setup to run openPOWERLINK On Raspberry Pi3 (On Master board)
All the binaries will be installed in the bin folder of the oplk_v2.1.1 directory.
Open terminal
sudo su
cd /home/pi/oplk_Pi2/Dev_oplk_Pi/bin/linux/armv7l/oplkd-pcap
modprobe tun
./oplkmnd-pcap
sudo su
cd /home/pi/oplk_Pi2/Dev_oplk_Pi/bin/linux/armv7l/demo_mn_console
./demo_mn_console
On Raspberry Pi 2 (On Slave board – 2)
Configuration steps to configure Raspberry Pi 2 as openPOWERLINK Slave node:
Repeat the steps as carried out for “Slave 1” before making the following changes:
Open terminal
sudo su
cd /home/pi/oplk_Pi2/Dev_oplk_Pi/bin/linux/armv7l/oplkd-pcap
modprobe tun
./oplkcnd-pcap
sudo su
cd /home/pi/oplk_Pi2/Dev_oplk_Pi/bin/linux/armv7l/demo_cn_console
./demo_cn_console


